Project This code is running a Circuit Diagram Raspberry Pi 4. Alternatively, the Raspberry Pi 3 Model B+ is a more budget-friendly option that still offers solid performance with a 1.4 GHz quad-core ARM Cortex-A53 processor and built-in Wi-Fi and Bluetooth. Both models are well-suited for creating a robust and efficient smart home hub. Essential Accessories. MicroSD card.

A Raspberry Pi board alone retails for about $35, with a complete Raspberry Pi starter kit sliding in around $45 or $50. How to Make a DIY Smart Home Automation Hub with OpenHAB for the Raspberry Pi. First, head over to the OpenHAB downloads page and choose your system, in this case Raspberry Pi. Transform your home into a smart automation hub with the Raspberry Pi, a powerful yet affordable single-board computer that serves as the perfect gateway to the Internet of Things (IoT). This versatile device empowers makers and developers to create custom IoT solutions, from environmental monitoring systems to automated home security networks, all while maintaining complete control over their Install Raspberry Pi OS. Download the Raspberry Pi Imager from the official website. Write the OS to the microSD card and insert it into your Raspberry Pi. Boot and Connect. Power up your Raspberry Pi. Connect it to a display and keyboard, or use SSH for remote access. Update the System Run the following commands to ensure your Raspberry Pi is

Raspberry Pi Home Automation: The Ultimate Guide to Building Your Smar Circuit Diagram
Using a Raspberry Pi as your hub, you can create a robust home automation system that leverages advanced cloud management capabilities while maintaining local control. Popular platforms like Home Assistant and OpenHAB can be installed directly on your Raspberry Pi, providing a user-friendly interface for device management.
3. Insert the microSD card into the Raspberry Pi: Once the flashing process is complete, remove the microSD card from your computer and insert it into the microSD card slot on the Raspberry Pi. 4. Power on the Raspberry Pi: Connect your Raspberry Pi to a power source using the appropriate power supply. The device will boot up and begin

How To Build Your Own Smart Home Hub With A Raspberry Pi Circuit Diagram
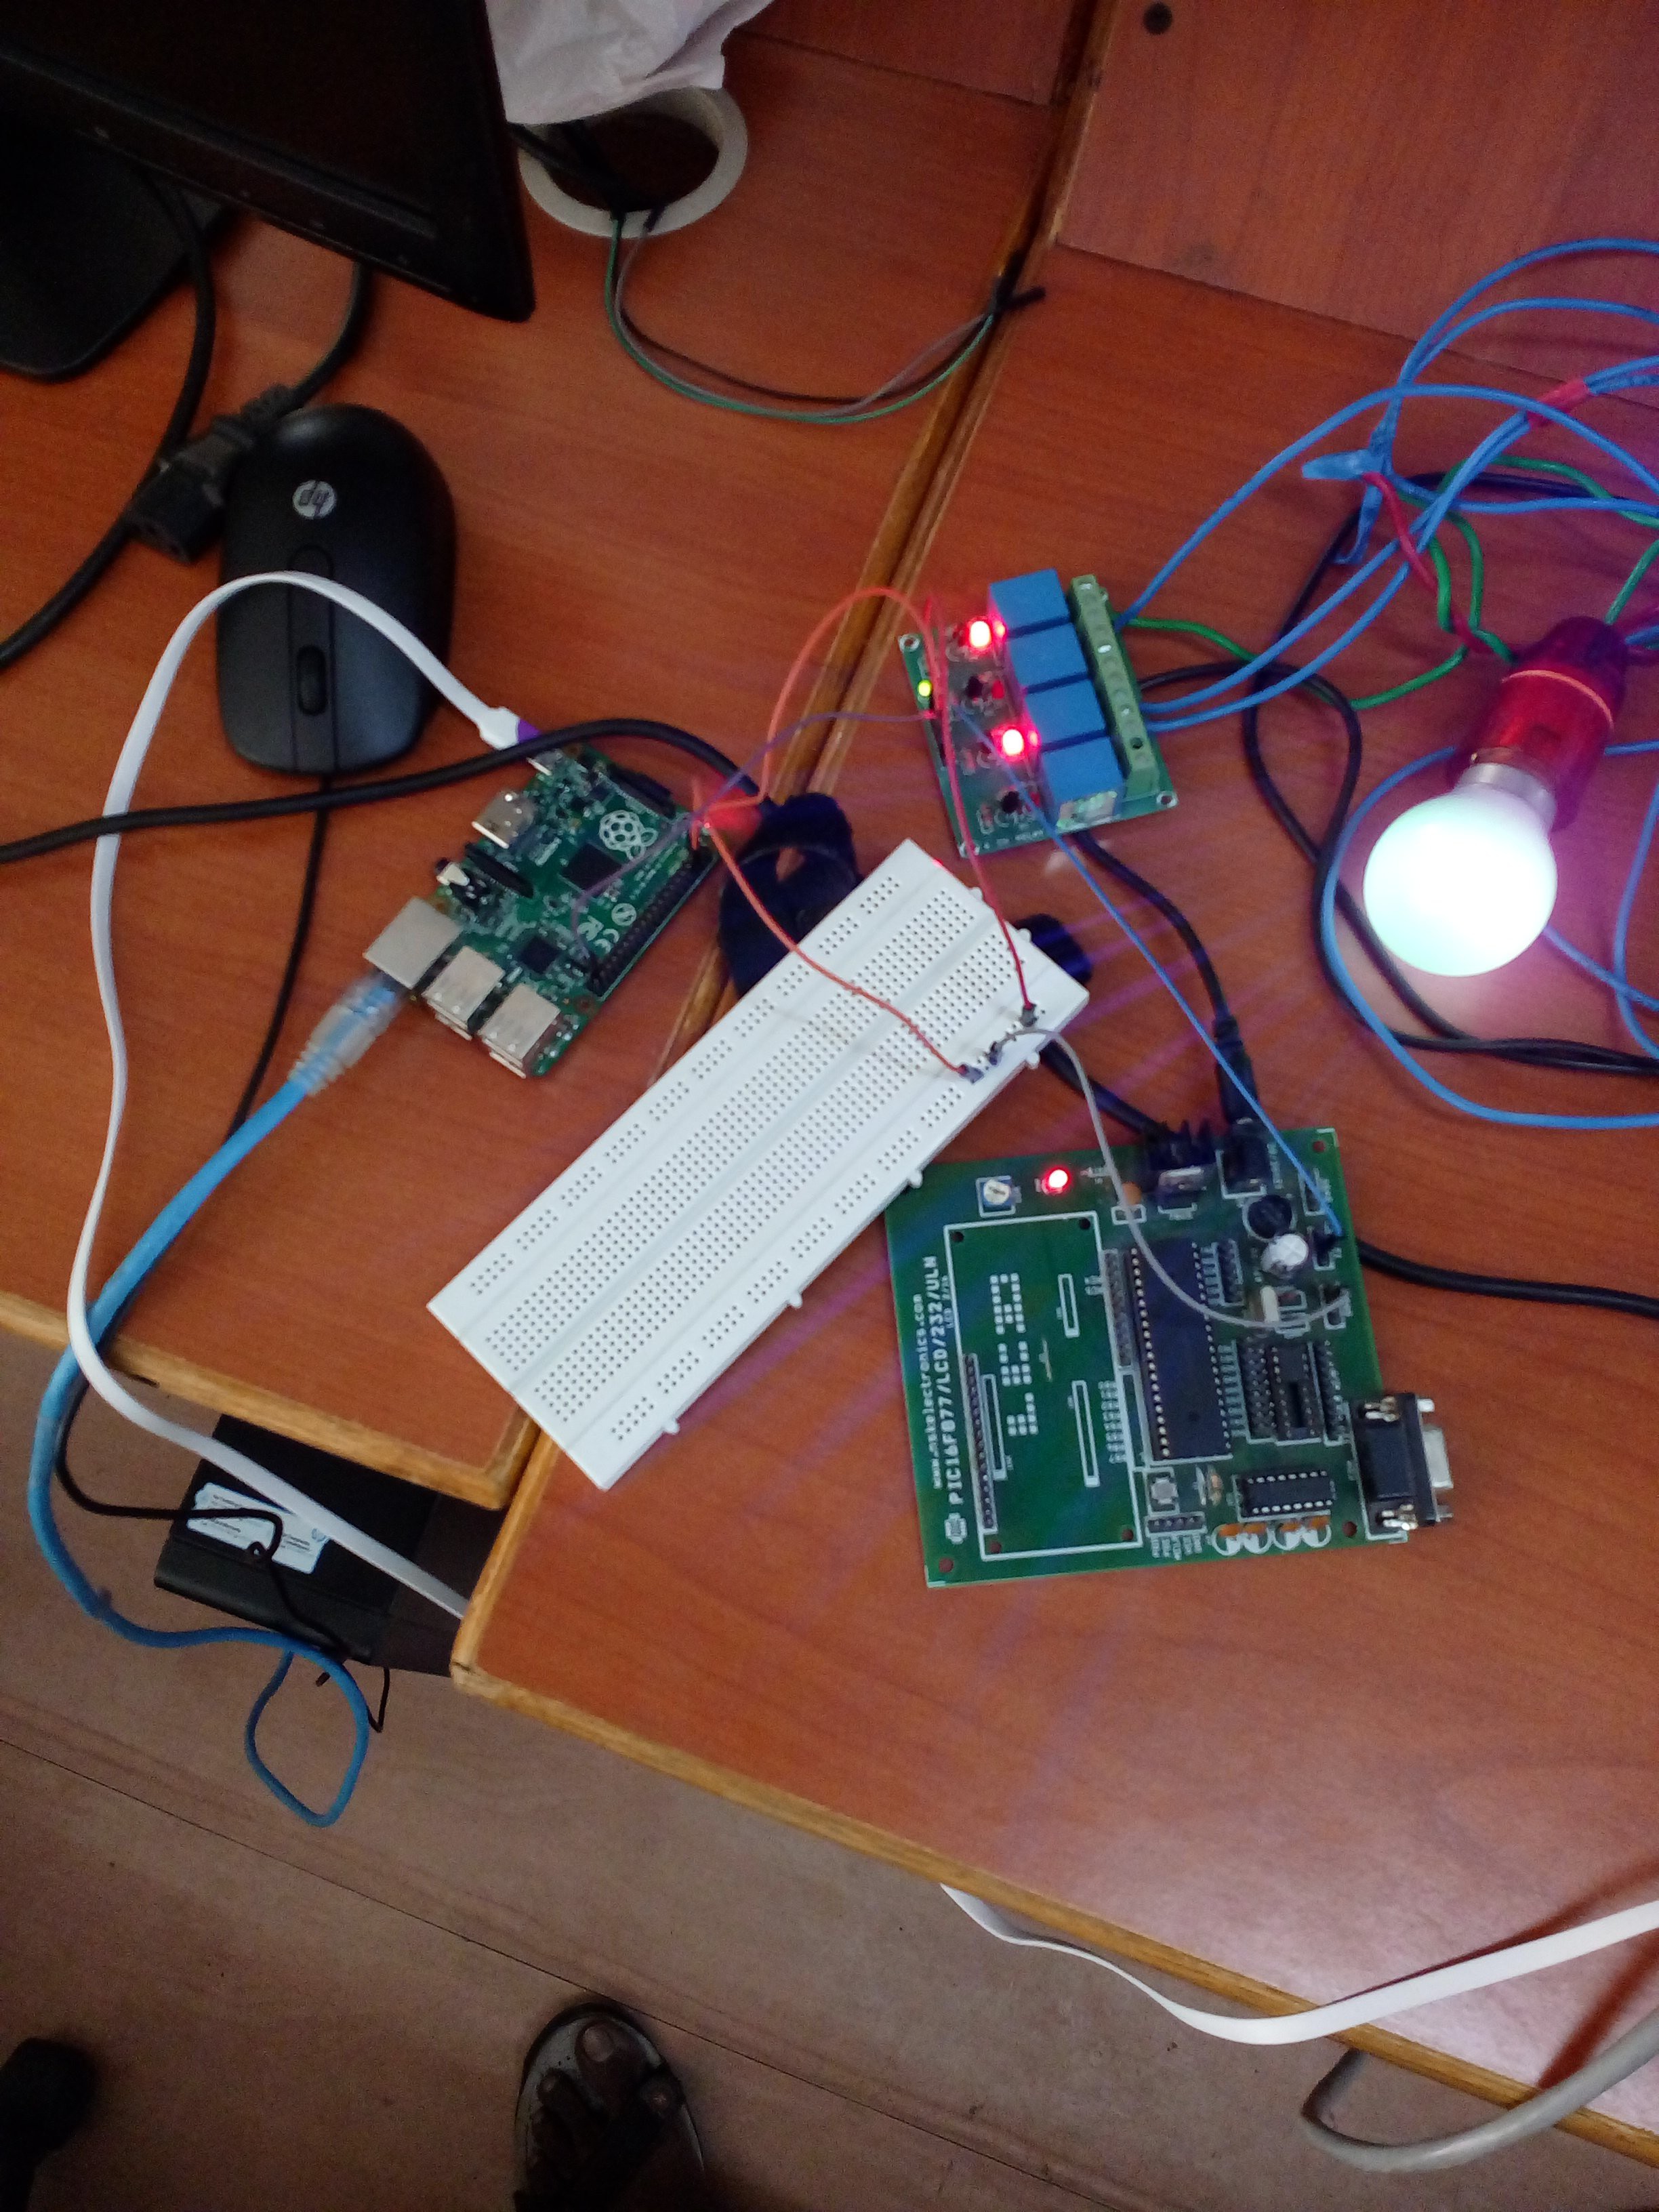
Raspberry Pi as home automation refers to the use of a Raspberry Pi to control and automate various devices and systems within a home. It serves as a central hub to integrate smart devices, such as lights, sensors, cameras, and thermostats, enabling seamless interaction and automation. Power Supply: Make sure it provides enough power to

Essential Components for Your Smart Home Hub. Raspberry Pi 5: The main device for your hub. MicroSD Card (32GB or higher): Stores the operating system and smart home software. Power Supply (USB-C): Provides stable power to the Raspberry Pi. Smart Devices: Examples include smart lights, switches, thermostats, and security cameras.
